Yes, you can indeed get awesome quality results with rattle cans – here’s how I did it.
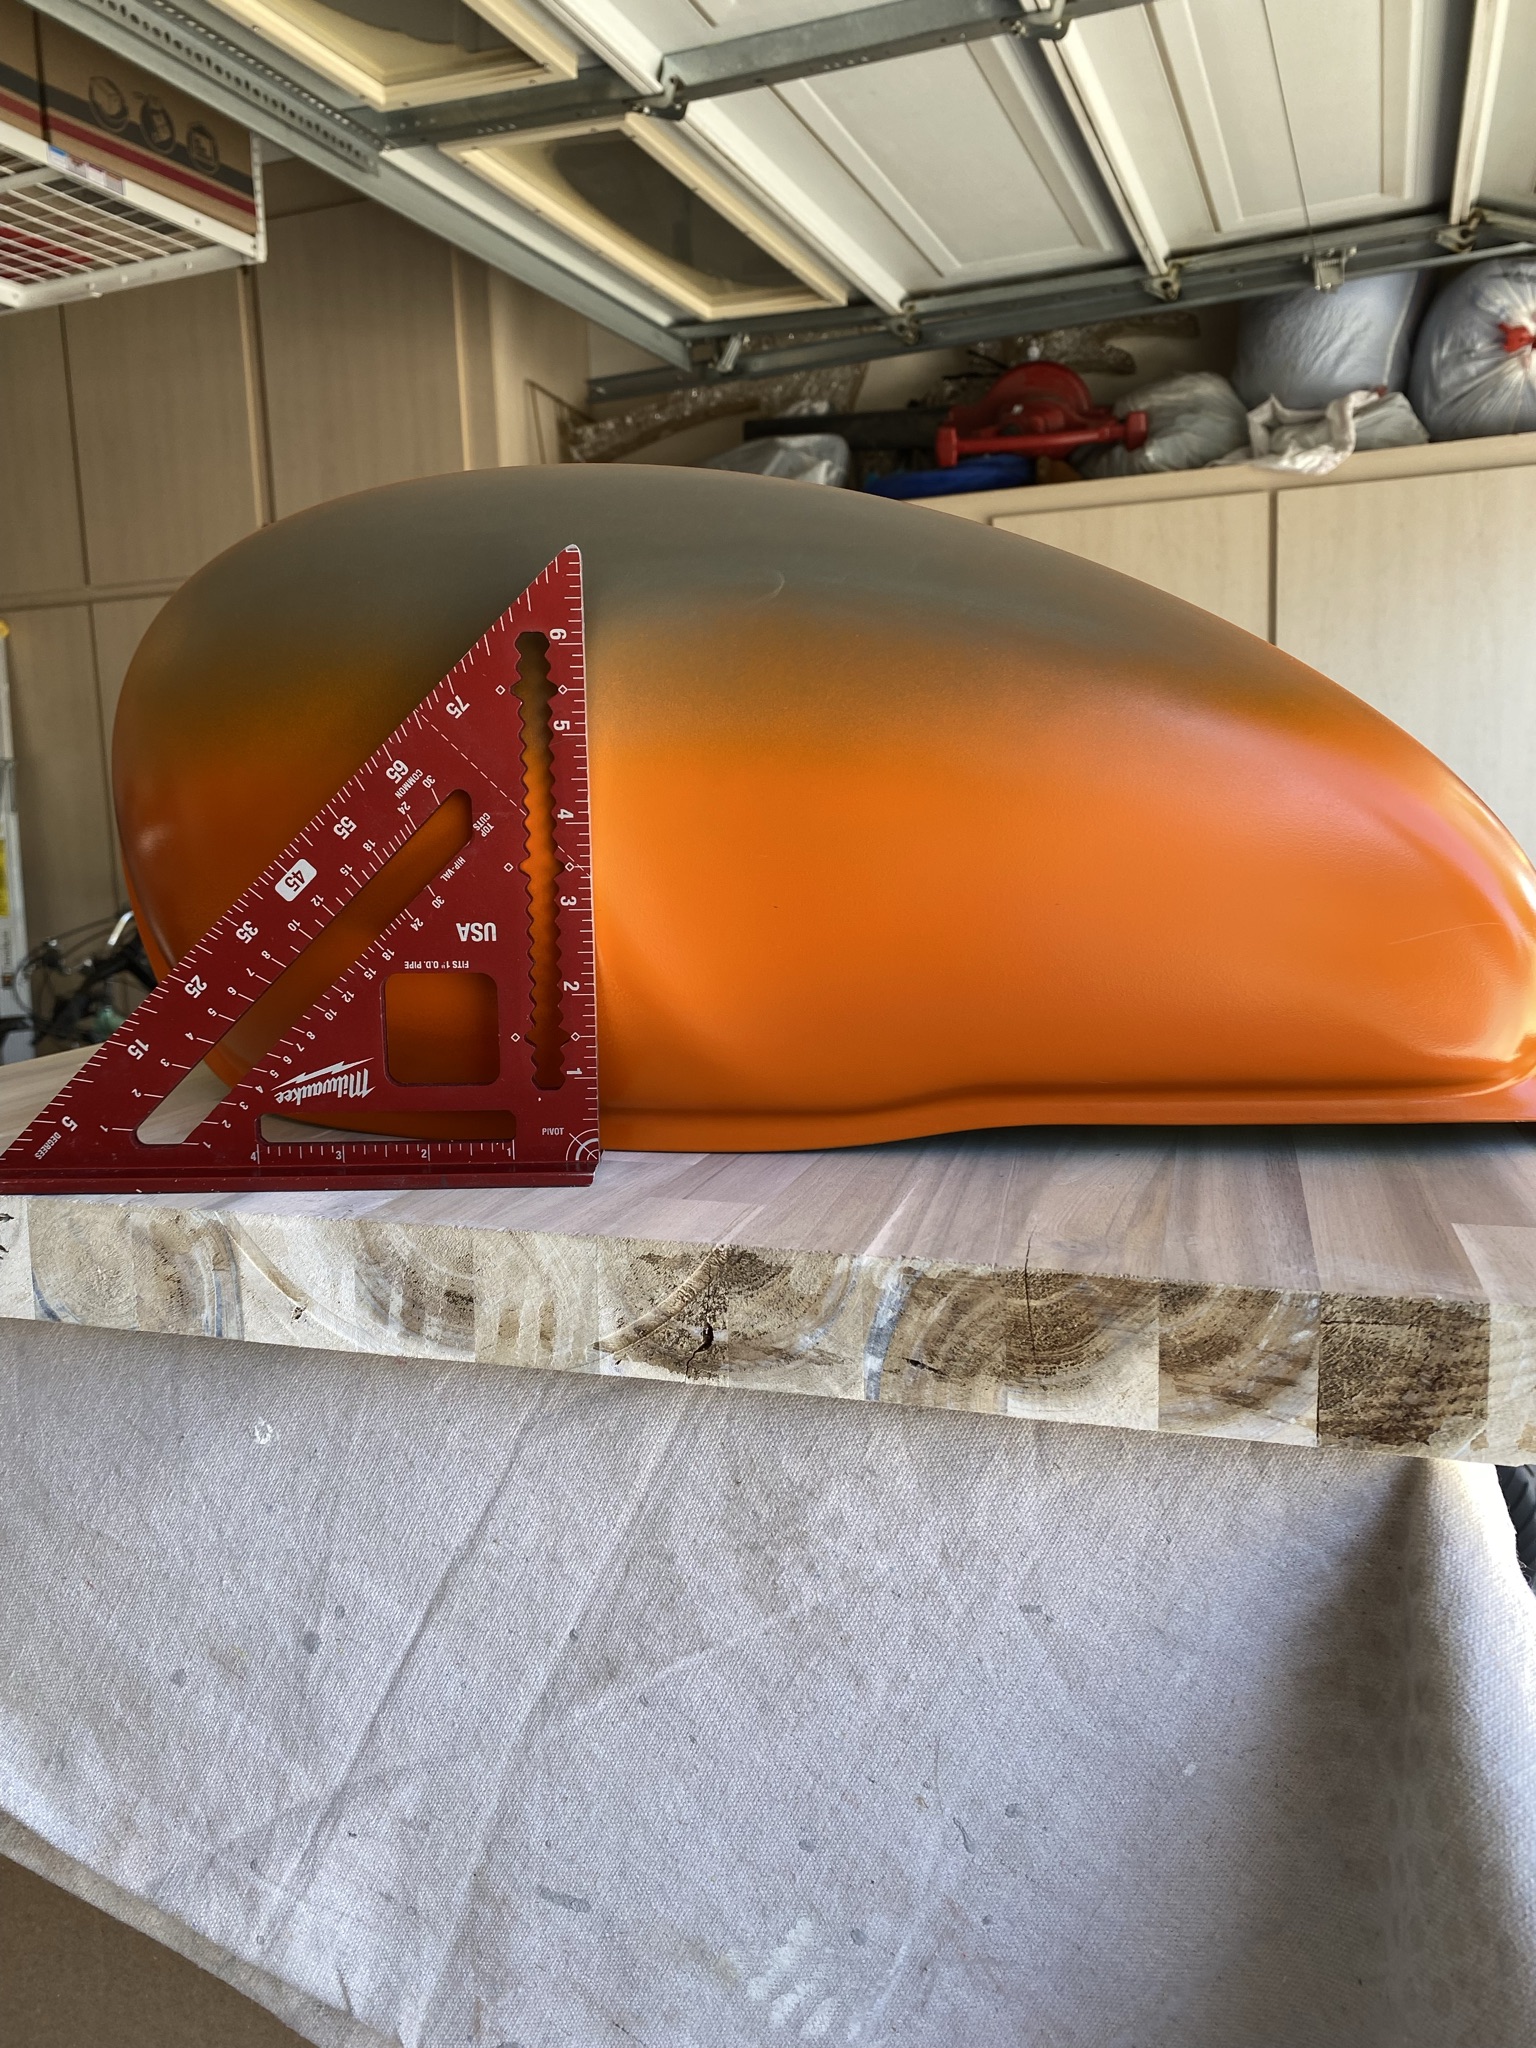
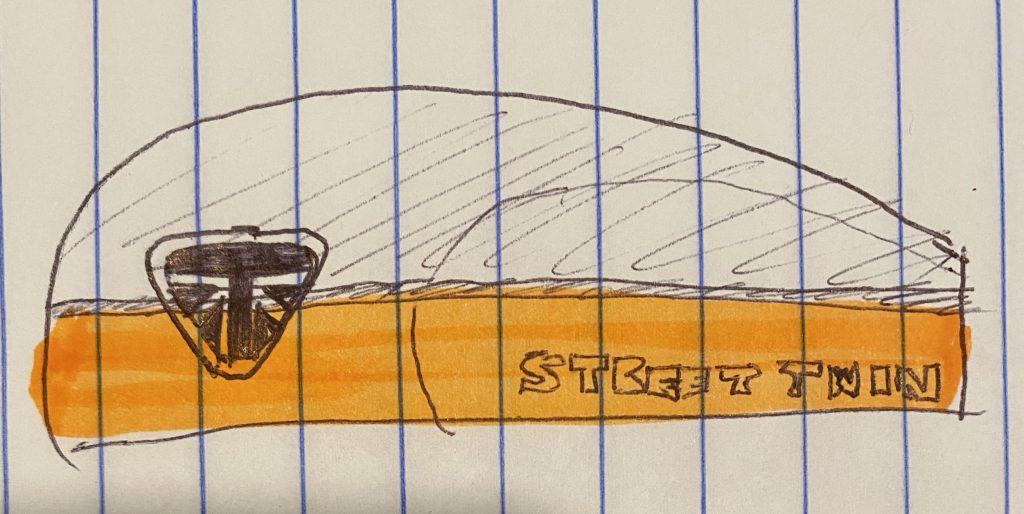
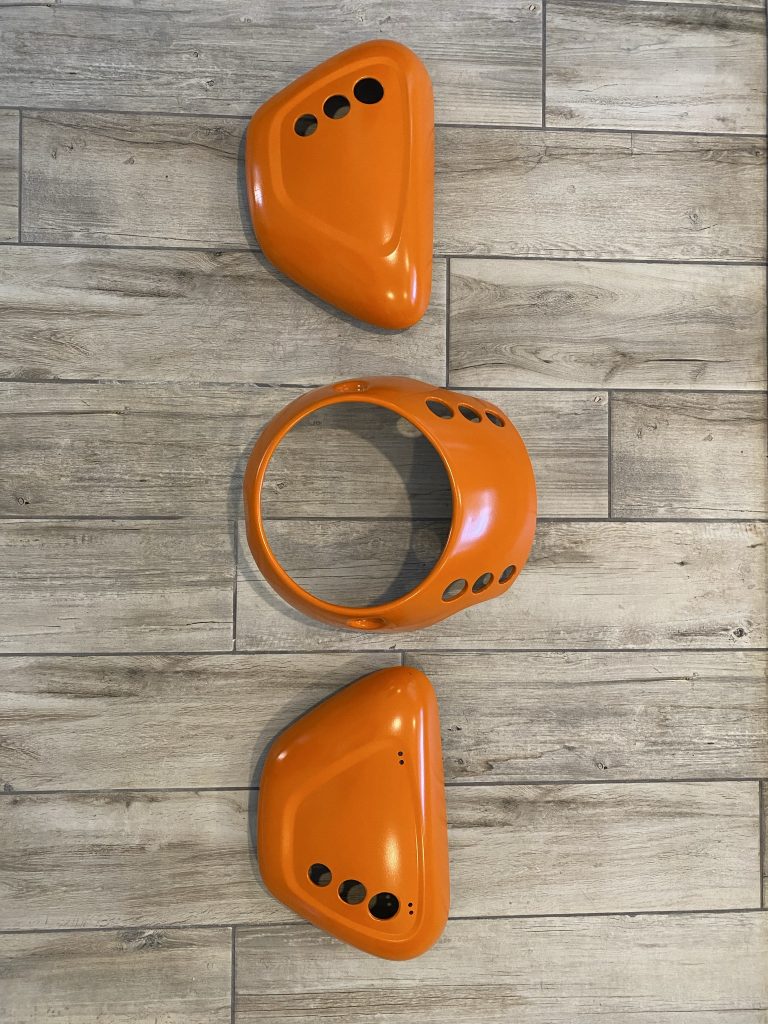
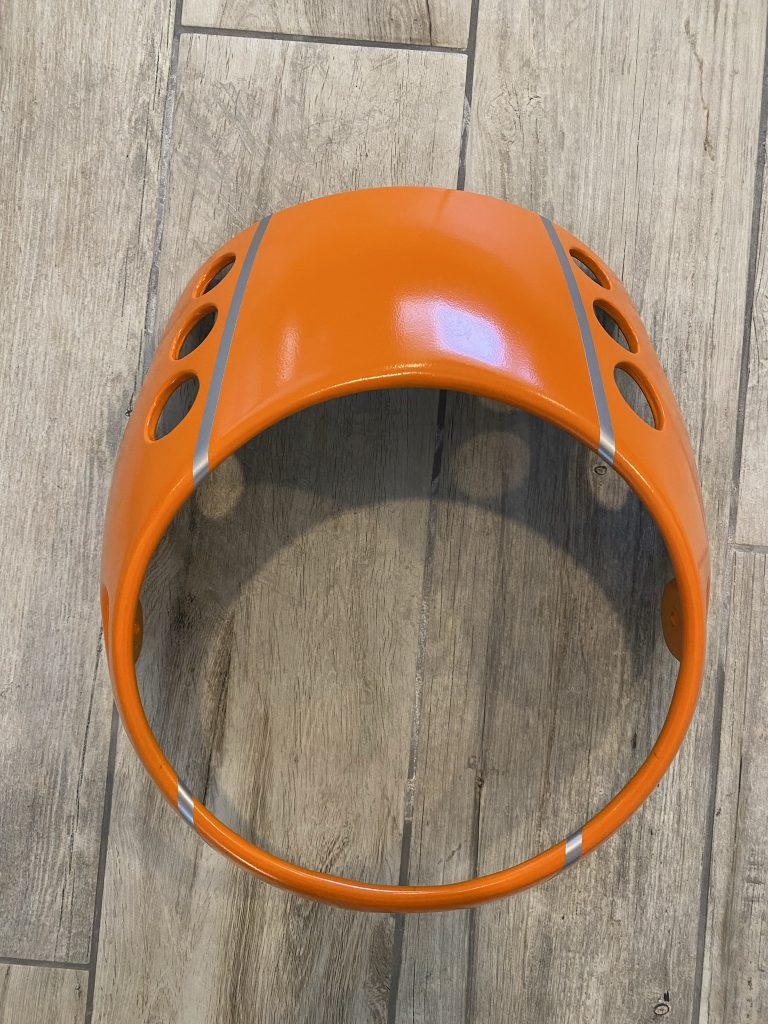
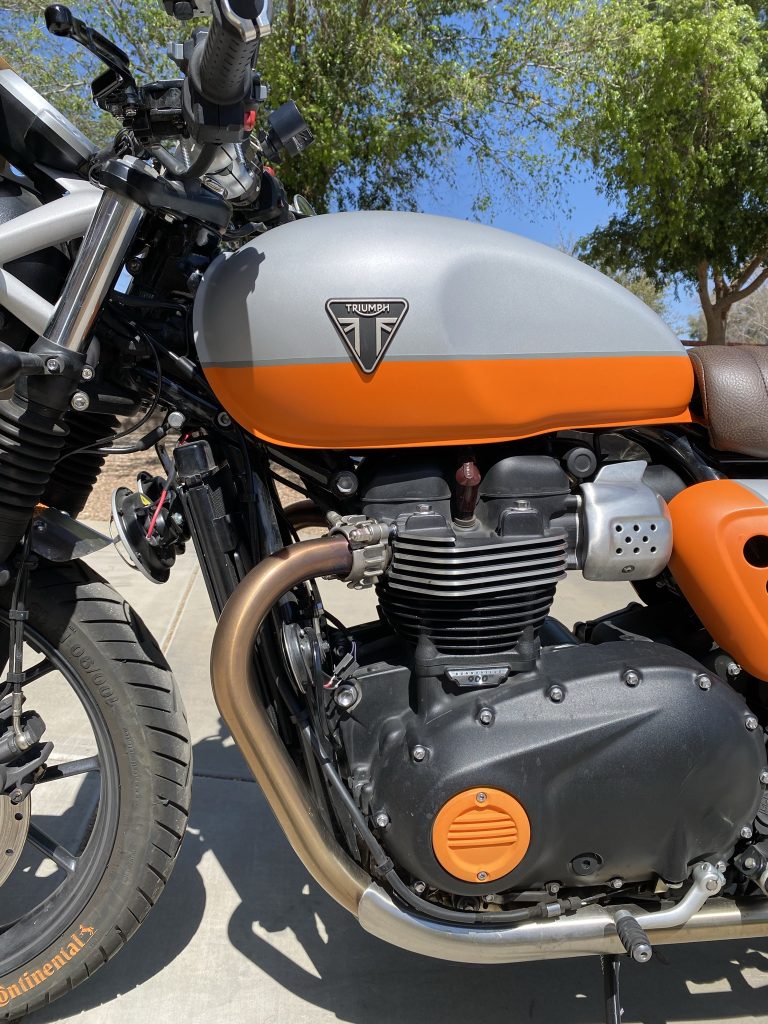
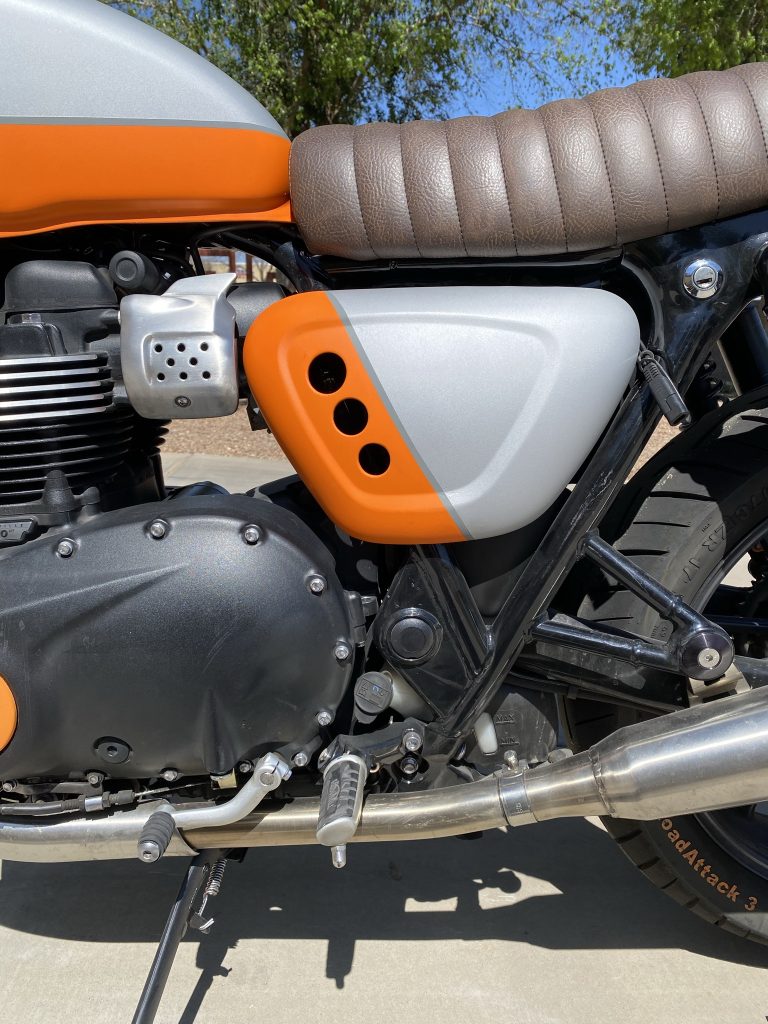
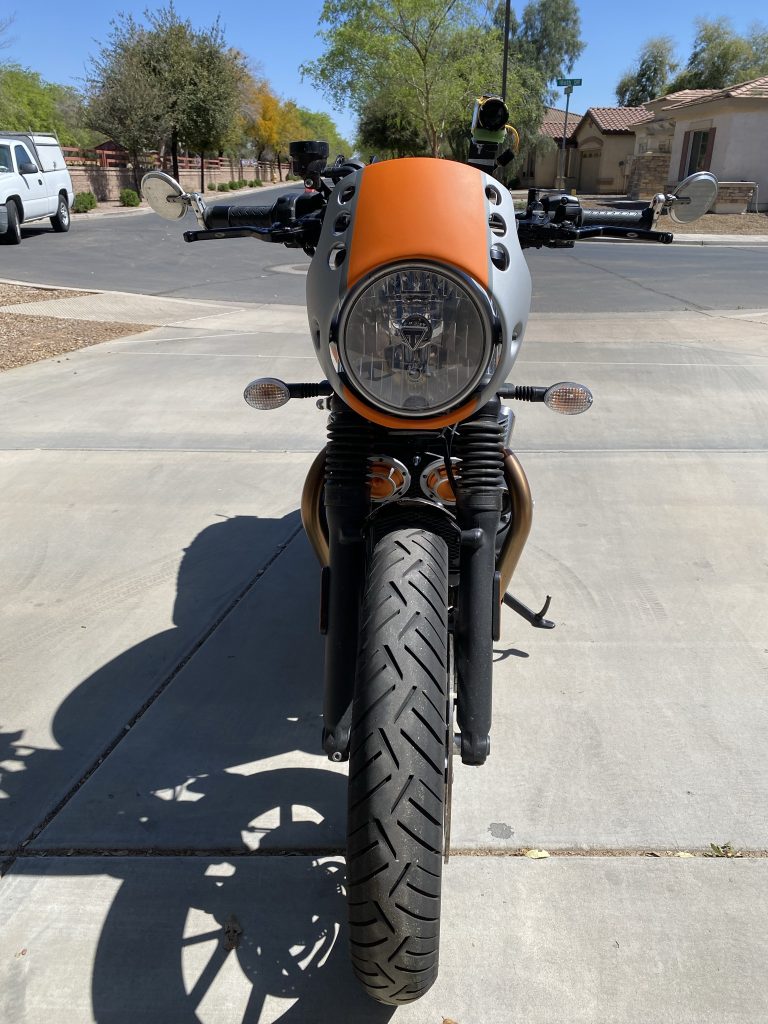
I started with a concept design. I wanted to incorporate orange and I felt that orange and gray went well together so that’s what I went with–light gray on top, darker gray accent line with orange on the bottom–all horizontal lines. I also wanted a matte finish so I purchased a 2K matte clear coat – links below for what I purchased.
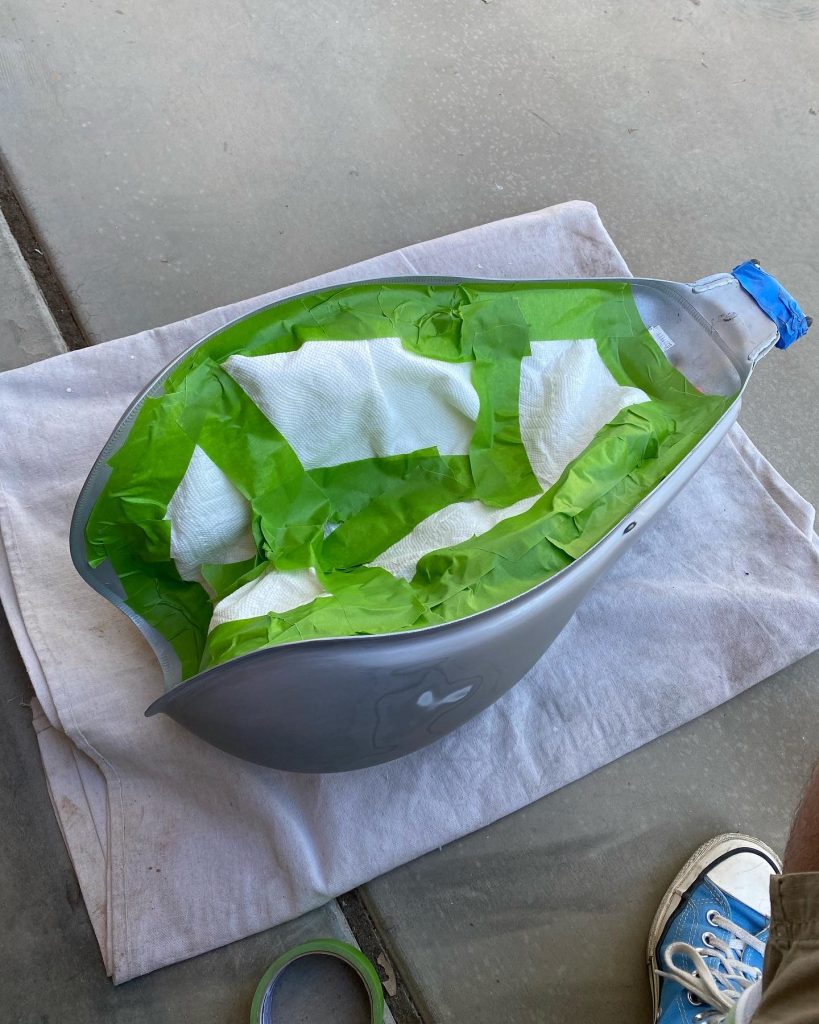
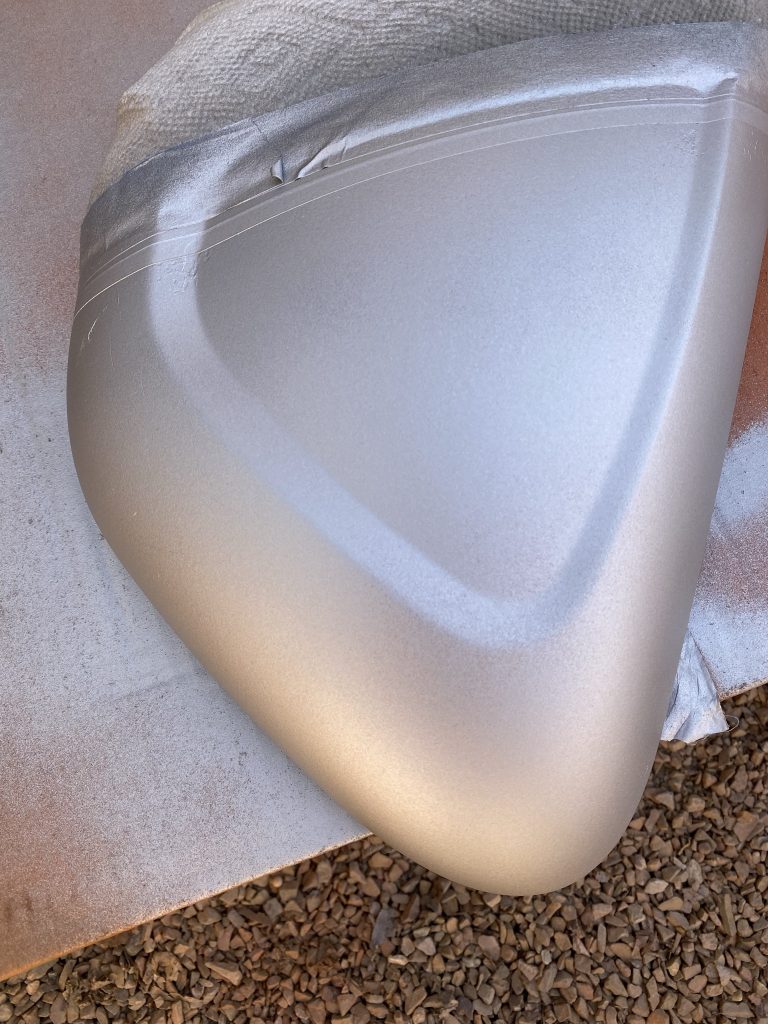
Prep work is very important. I pulled off all the parts I was painting and sanded them, used a degreasing agent to ensure all parts were clean and grease free. I didn’t feel the need to sand down to metal. I just sanded enough to ensure there was none of the original clear coat and that I have a non-shiny surface to work with.
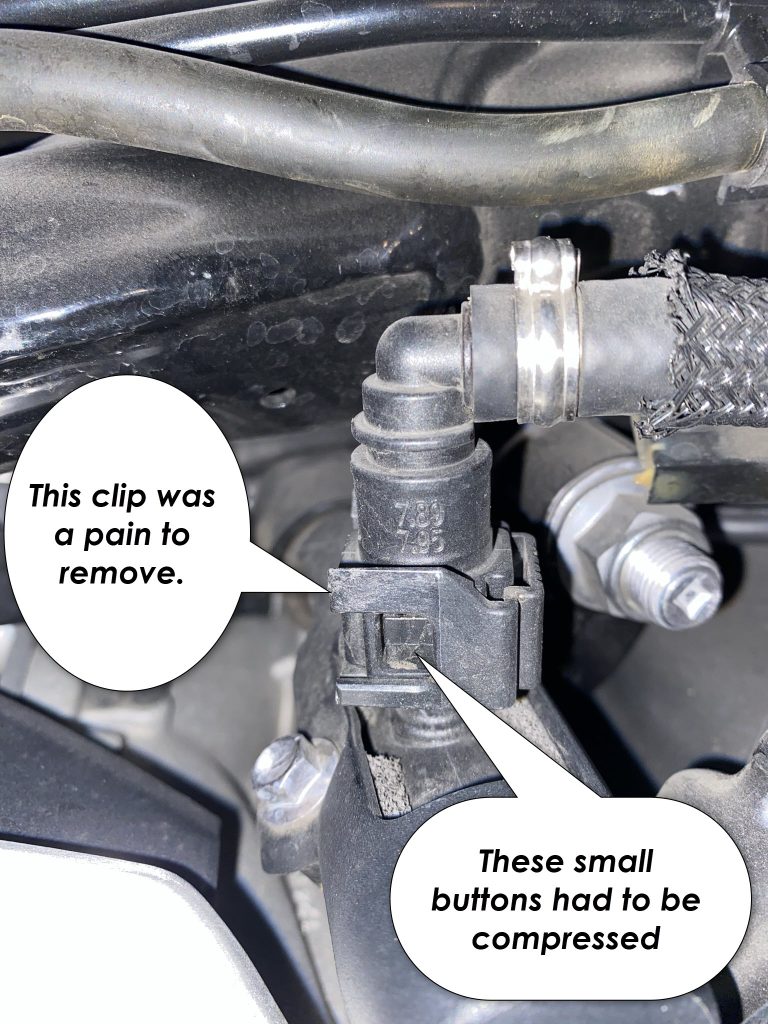
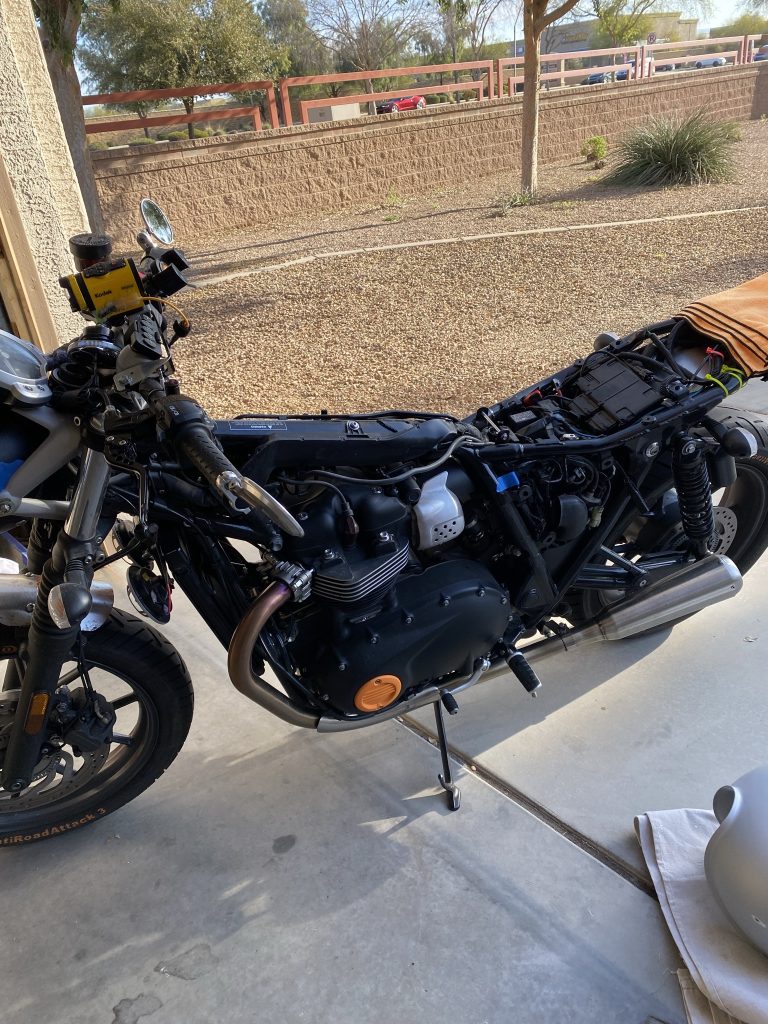
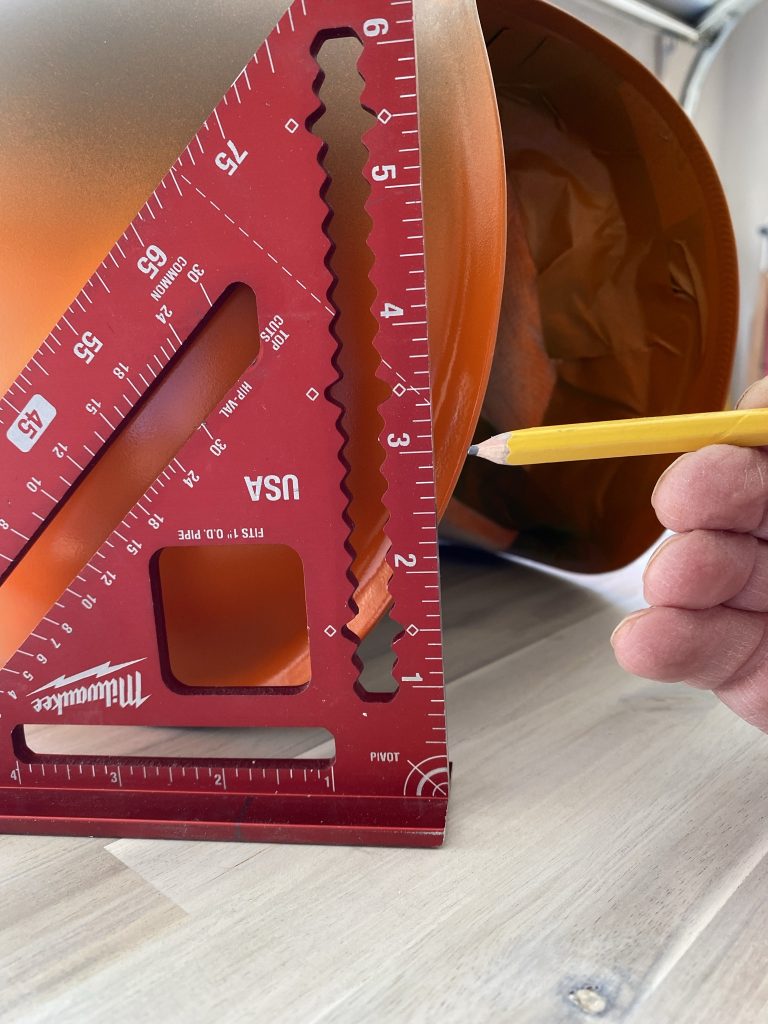
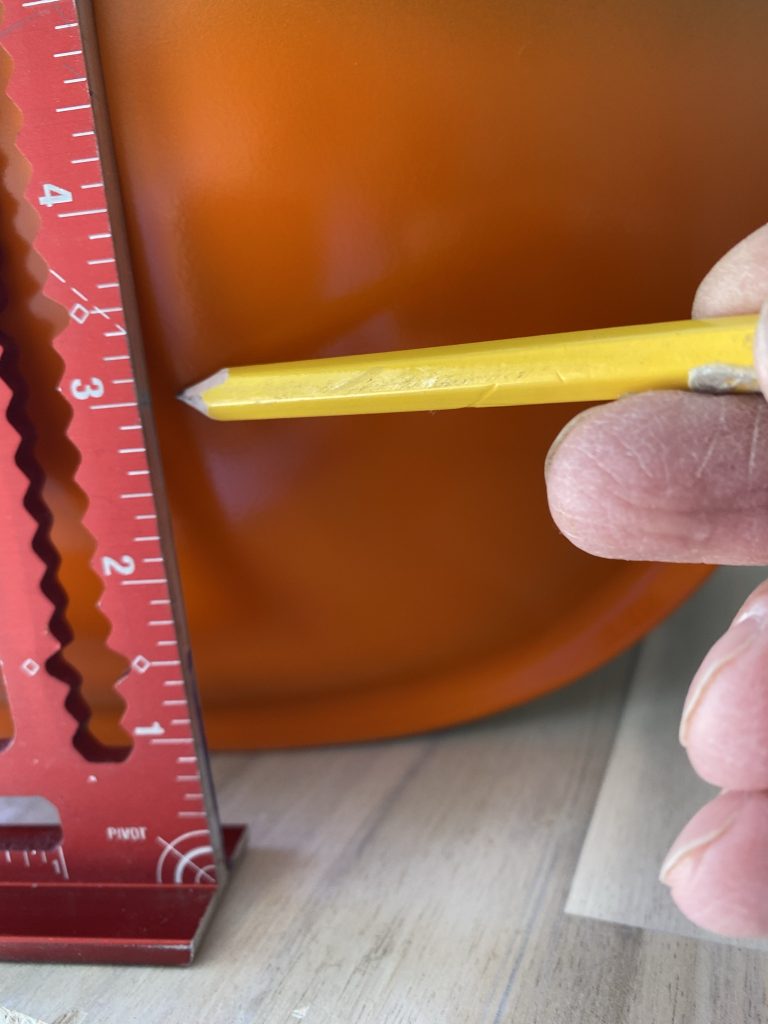
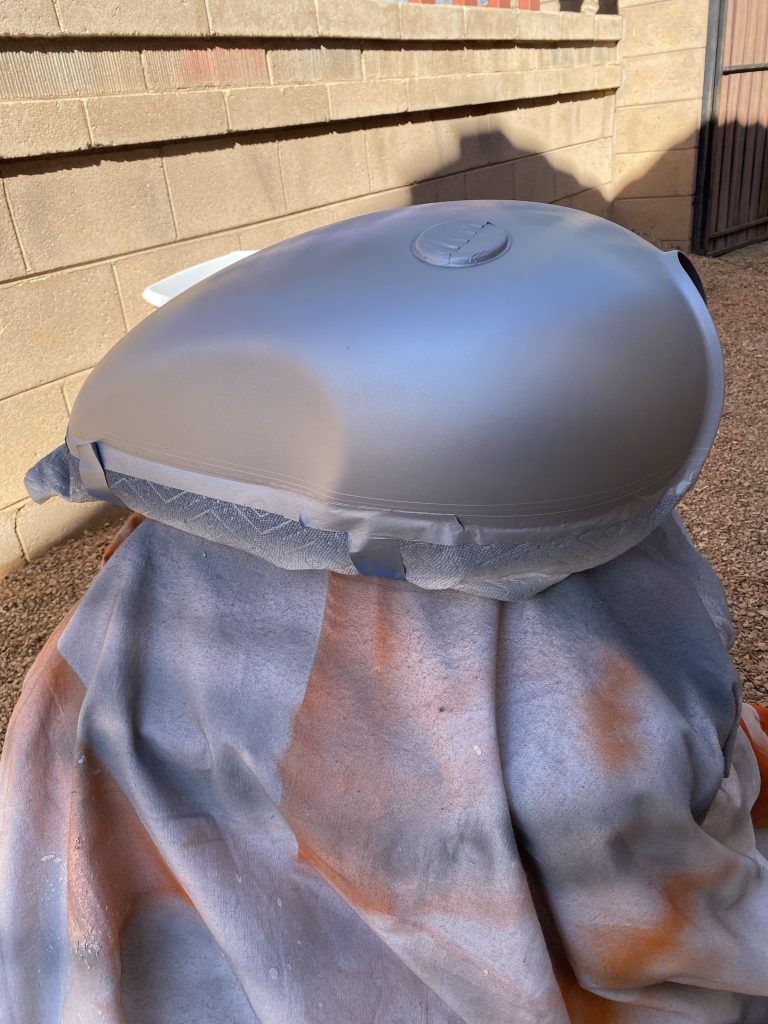
I was going to try to paint the gas tank while on the bike – I didn’t want the hassle of removing the tank, but I realized that just wouldn’t work. So, off came the tank – which was a bit of a challenge because removing the gas line clip was tougher than I thought. I eventually got it off and found that having the tank off the bike to prep, draw lines, etc was surely the right way to go.
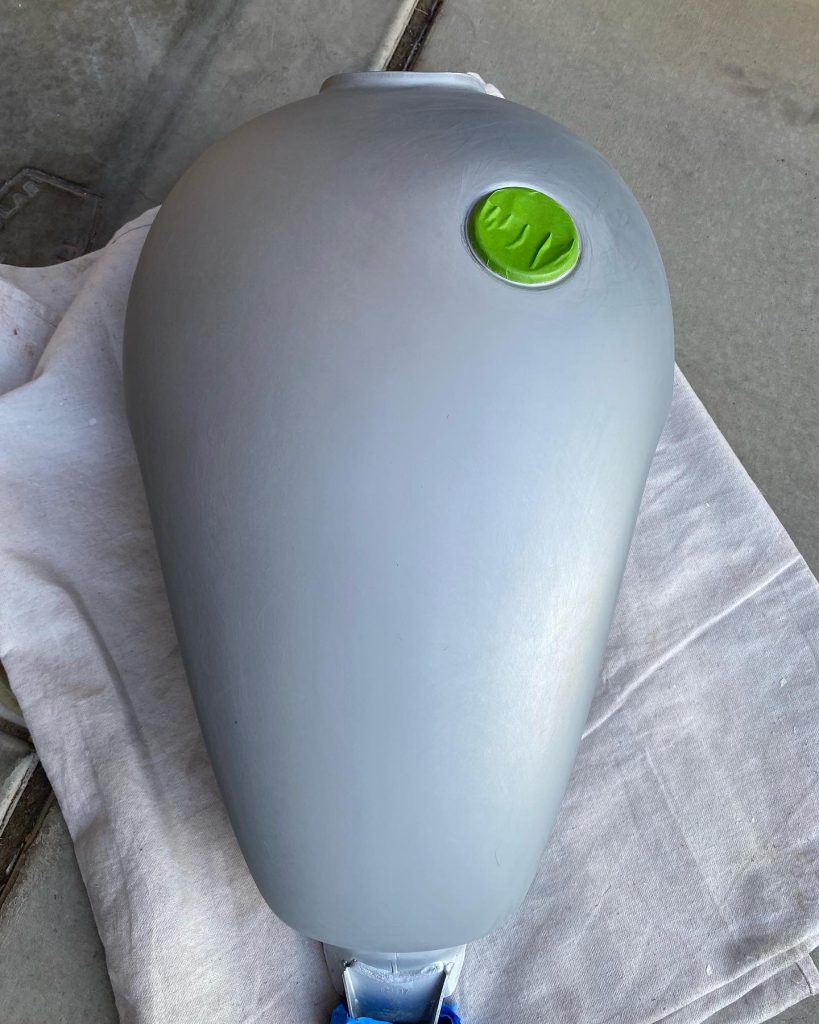
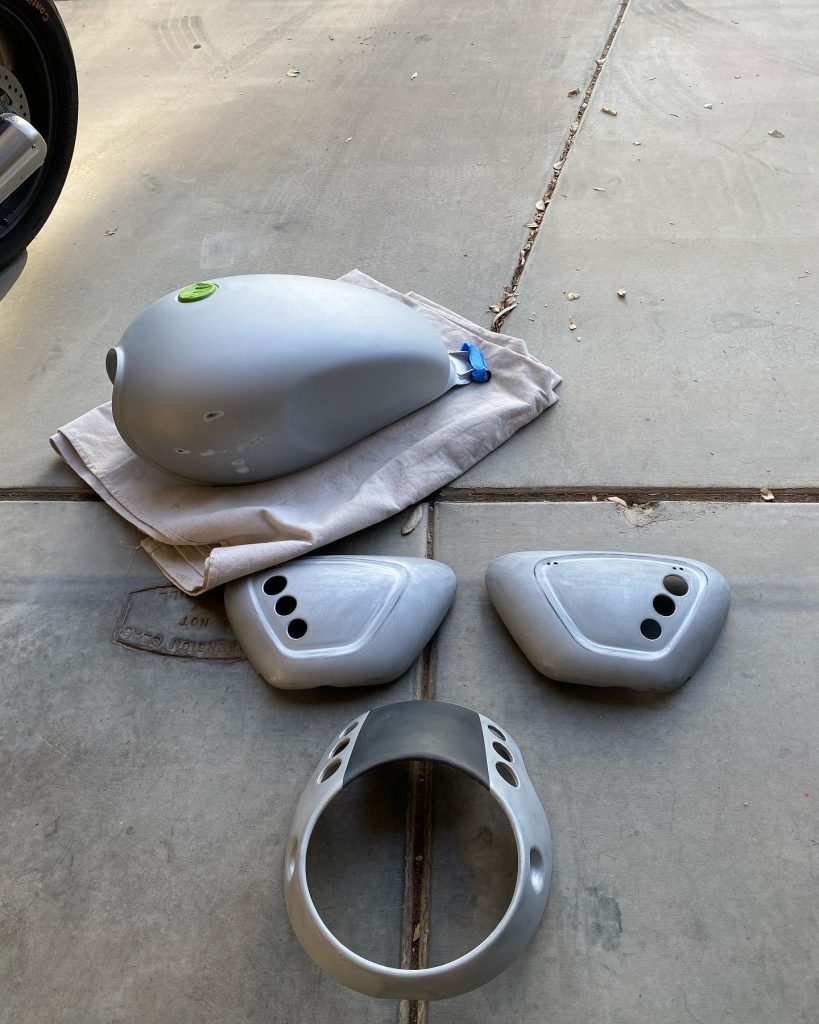


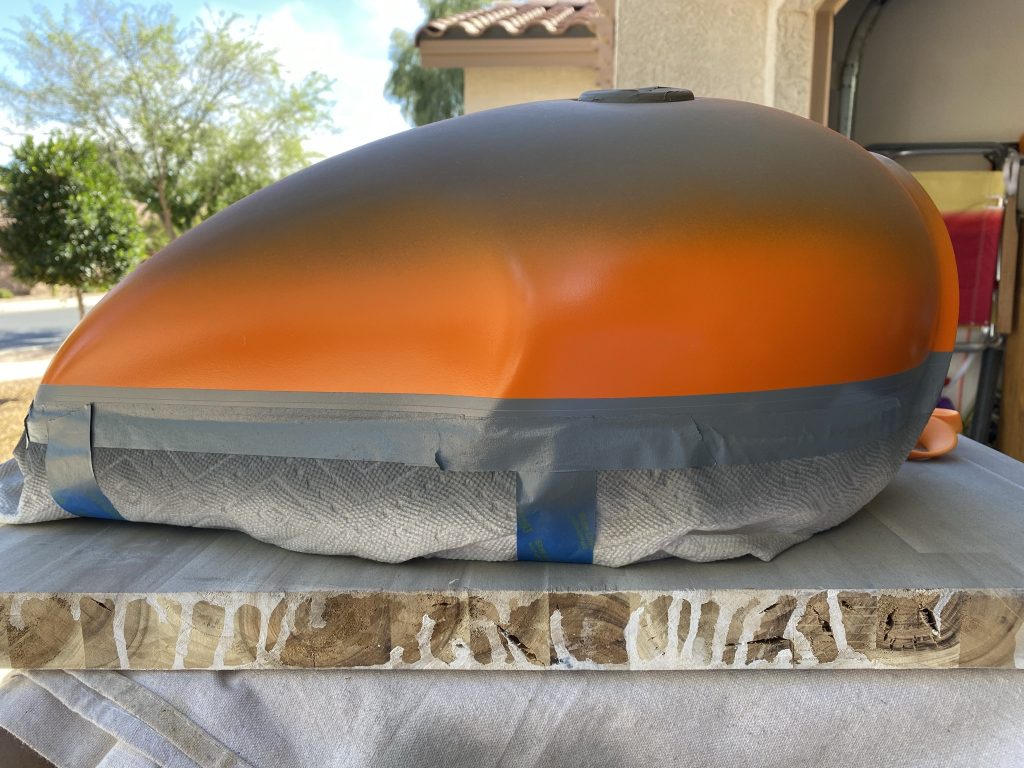
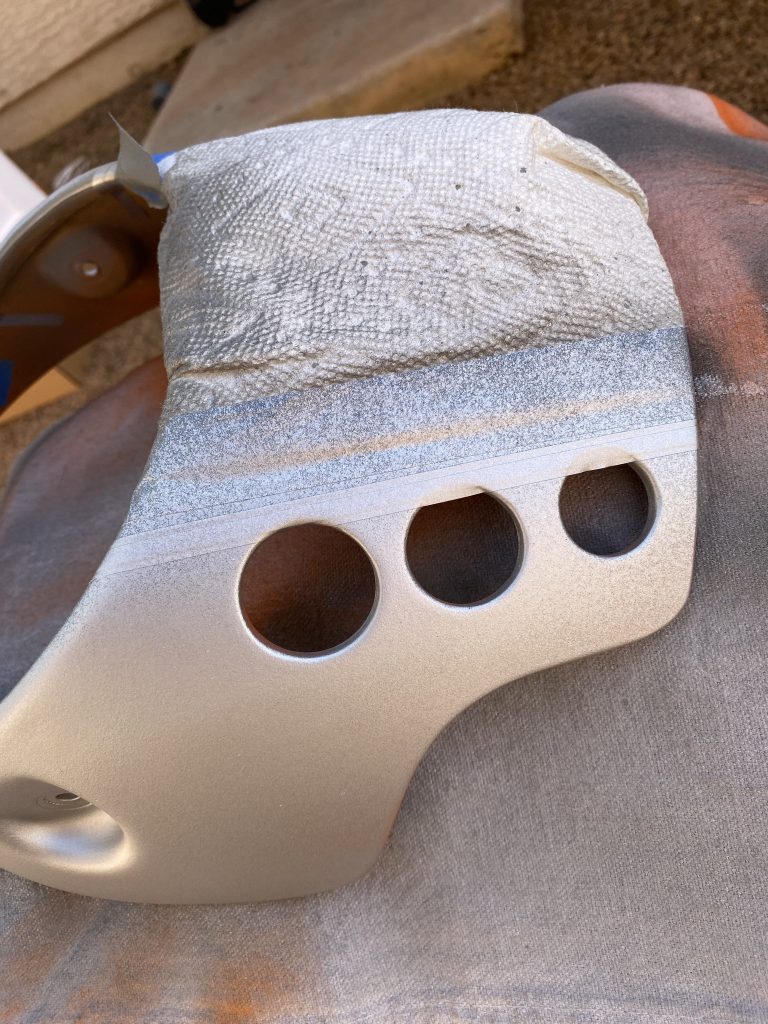
Before I taped the bottom to apply the light gray top color, I taped both the bottom and the top and left a thin line for the dark gray accent strip.
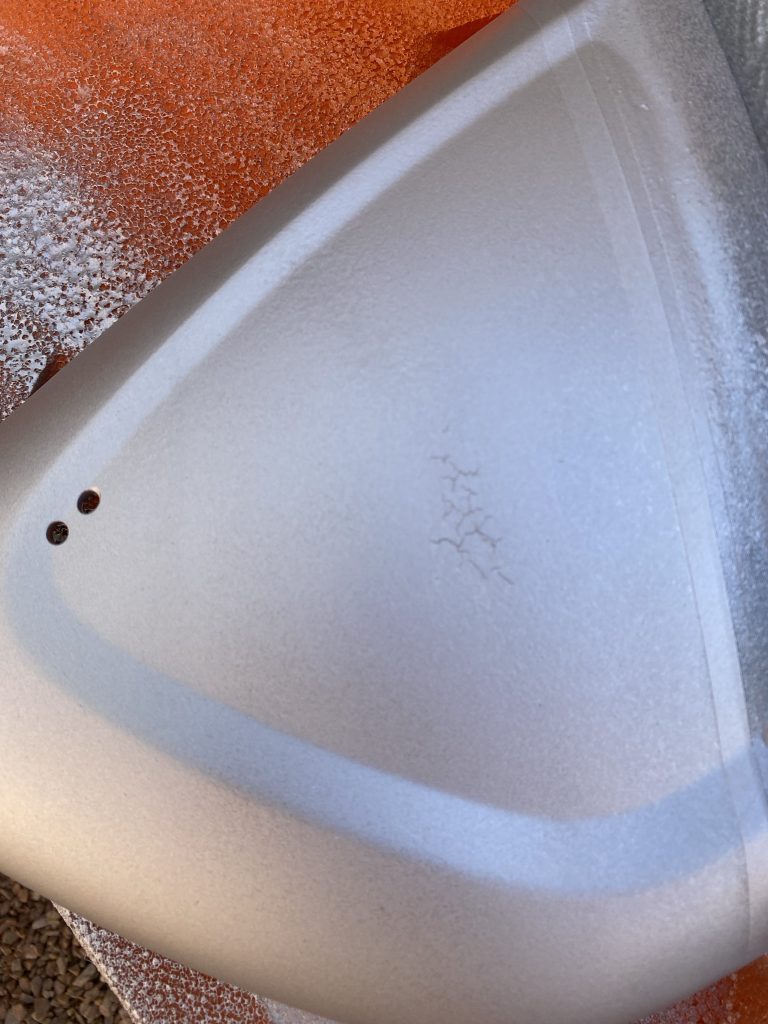
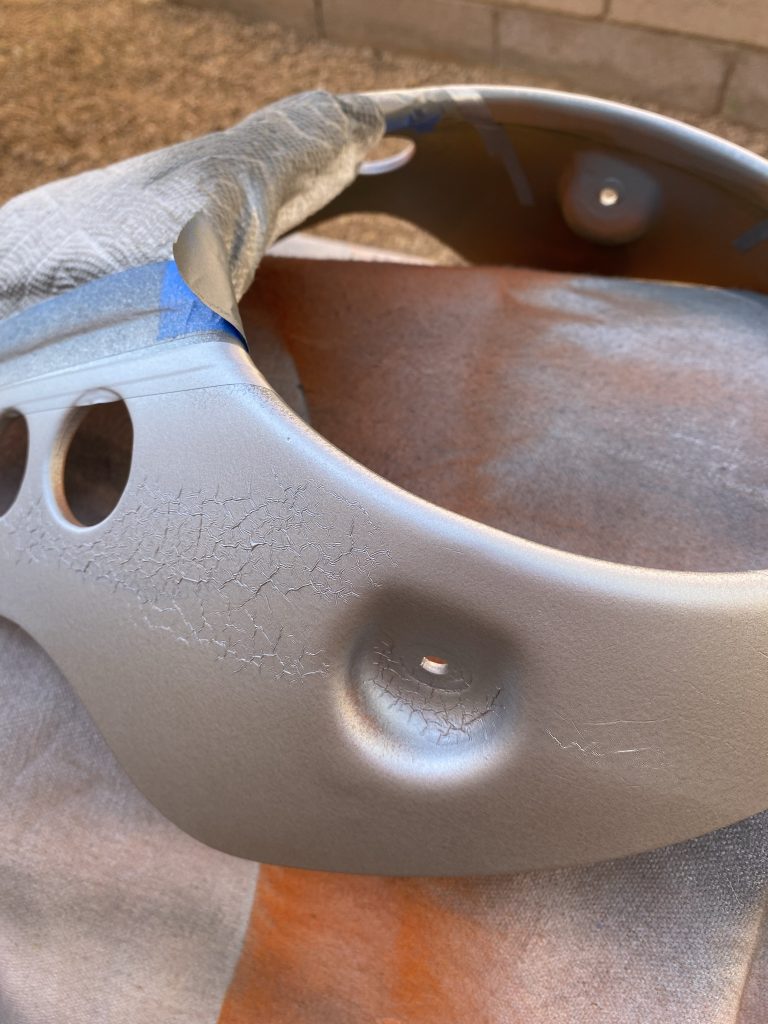
I didn’t have a good side-to-side spray motion a couple of times resulting in some minor dripping. Because I was impatient with my side-to-side technique, I ended up having to take additional time to re-sand the surface where the drips occurred. But, I had to wait until the next day to ensure the paint was completely dry otherwise the sanding would just gunk up the paint.
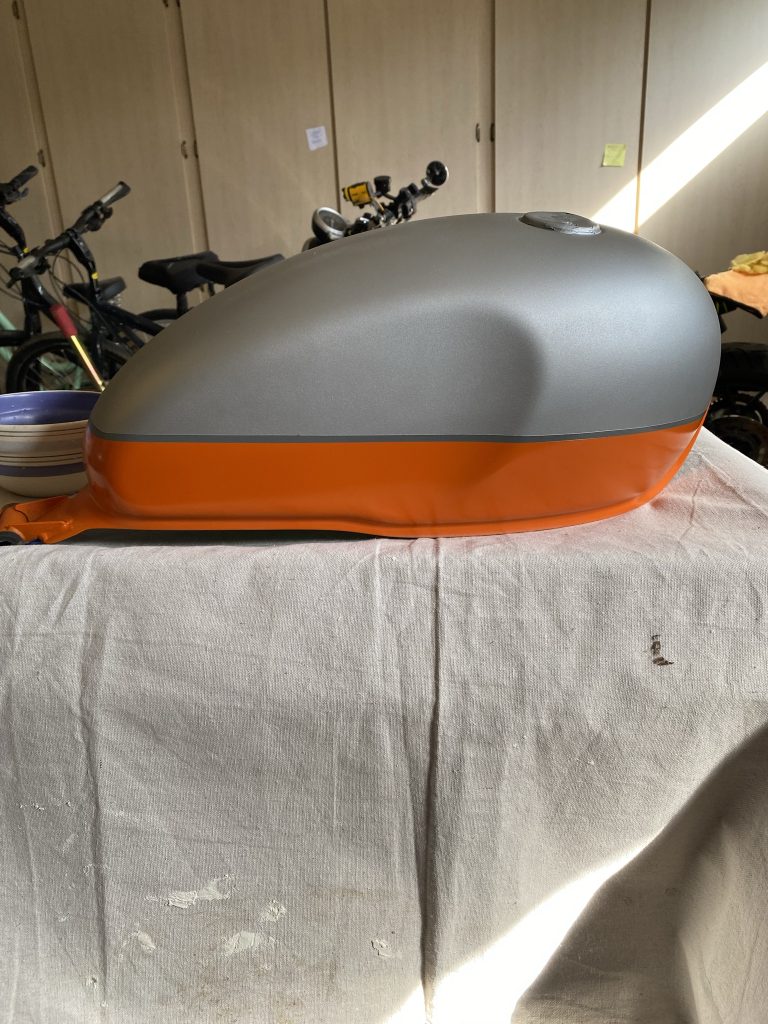
I was able to get a really good quality finish – being patience and using a 2K matte clear coat.
Following a set of basic steps was all that I needed:
- Prep as above,
- Prime with a self-etching primer,
- Keep cleaning and degreasing between dried coats – your fingers have lots of contaminants and grease.
- Tape of the parts you don’t want painted – and paint using an even side-to-side spraying pattern trying very hard to not linger in any one spot otherwise drips will happen (I had this happen a few times which required more sanding to remove the dried drips).
- When done painting – use a 2-stage clear coat. If you don’t use a 2-stage clear coat – spilled gasoline will remove the clear coat.
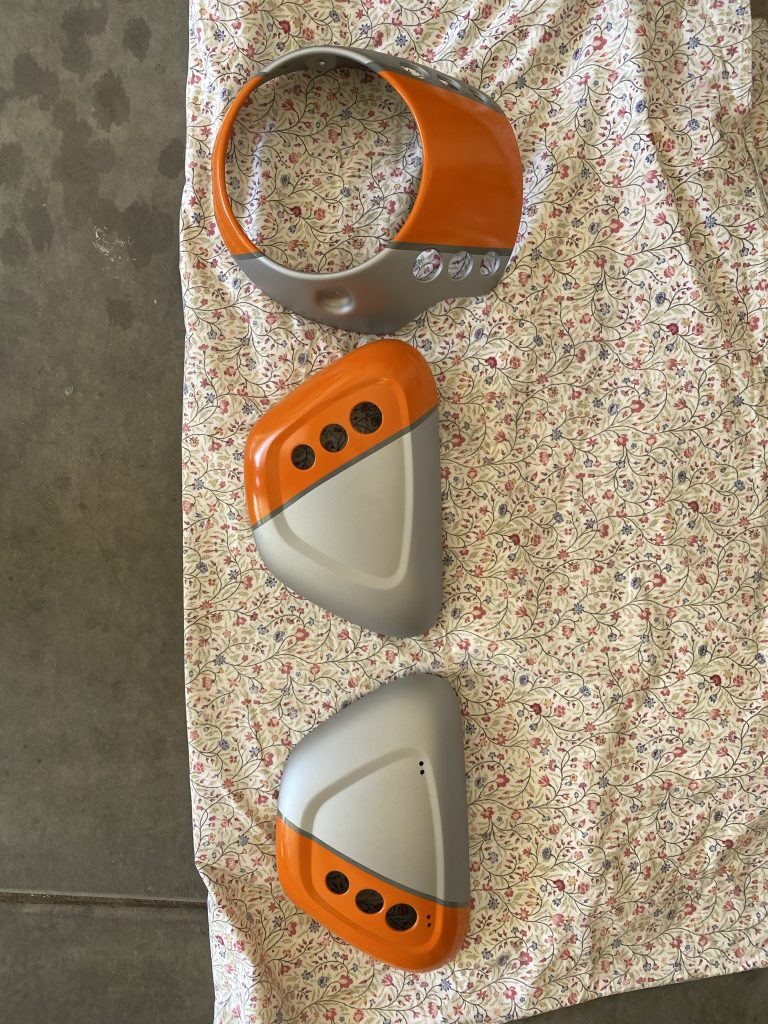
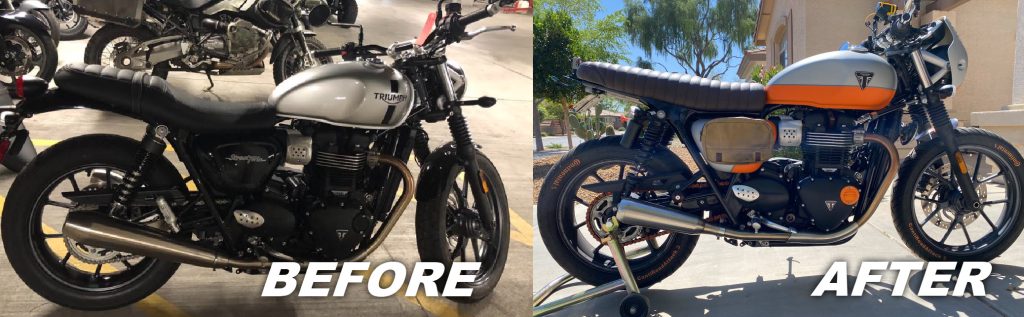
Before and after photographs.
Here are the products I used.
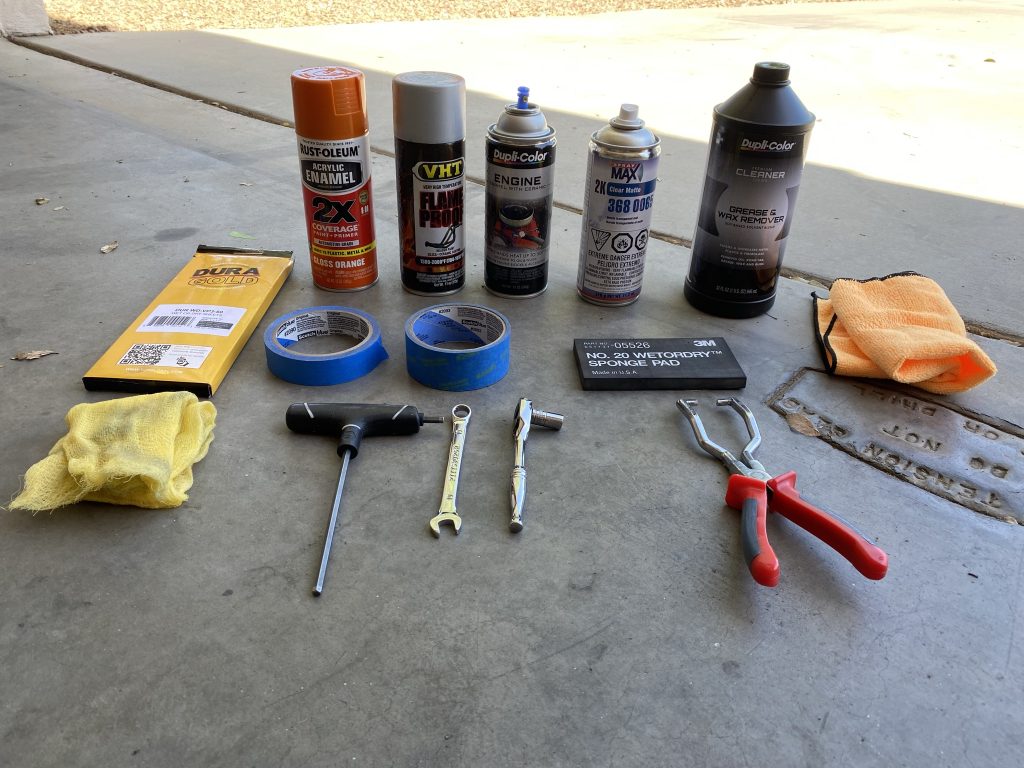
For the colors, I tried to use high-heat colors. I couldn’t find high-heat orange so used a good acrylic enamel. These I got from Walmart or my local auto parts store.
For the clear coat – THIS IS VERY IMPORTANT – I used a 2K matte finish clear coat. This is a special clear coat that required you to pop a button on the bottom that activates a hardening agent that creates the rock-solid clear coat that is impervious to spilled gasoline. Once that button is popped – you have 24 hours to get it done or it dries out. Link to Amazon where I bought it.
The Dupli-Color Grease & Wax Remover is awesome at cleaning the parts to keep them grease free. I also found that after I was done with the painting project I use this plus the orange cloth to clean the body parts – it removes any scuffs, dirt, etc without harming the paint. Link to Amazon.
The fuel line hose clip pipe pliers – with the red handle – these were used to compress the clips holding on the fuel line. These worked OK, but the position of the fuel line made it the most challenging part of this project – it was hard to get the pliers to grasp the clips. Here’s the link to the pliers on Amazon. The tips of these pliers were actually just a bit to large so I had to use my angle grinder to trim them so they would fit onto the buttons on the fuel line clip. (see below).